Take a seat. Today’s tool is the thinning shears — the scissors with teeth that you’ve seen your barber pick up near the end of a cut, snip a few times, and put back down. People ask about them constantly, usually right after they’ve bought a pair online and done something they regret. So this is the lesson I’d give in shop class: here’s what this thing is, here’s what it’s for, and here’s why you keep it away from your own head.
We’ll go in order. Anatomy first, then how it works, then the different types, then what it does and doesn’t do. Safety rules come last, and yes, there will be a quiz. (There won’t. But read it like there will.)
Lesson one: what thinning shears are
A regular pair of hair-cutting shears has two straight blades. Close them and everything between the blades gets cut. Simple.
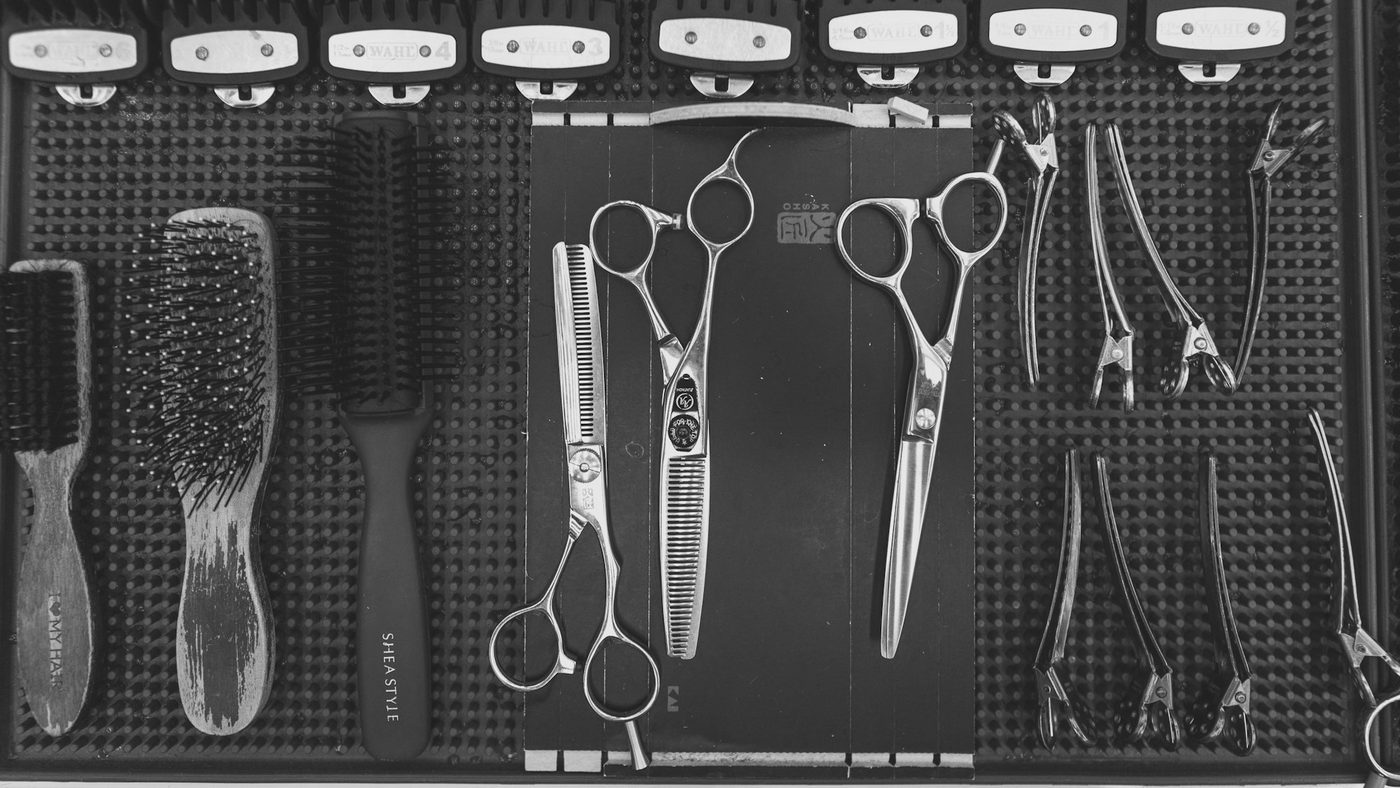
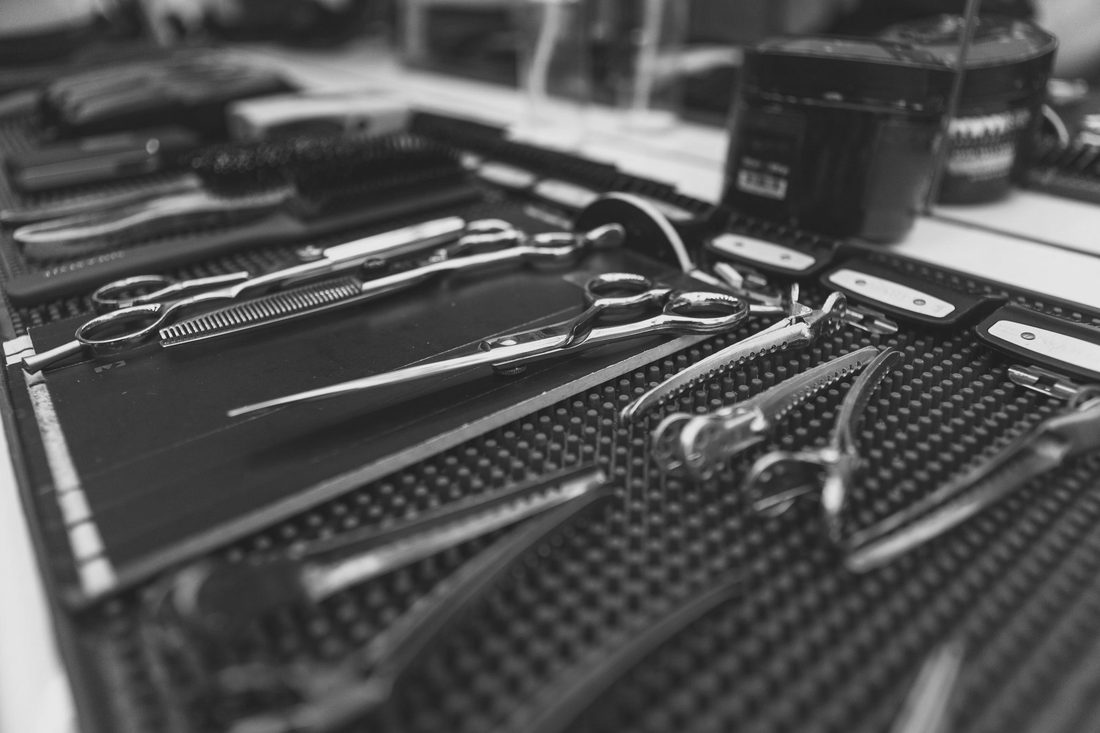
Thinning shears change one thing. One blade is still straight and smooth. The other blade is cut into a row of teeth, like a comb, with small gaps between them. That’s why people search for "scissors with teeth" when they can’t remember the name. Some pairs have teeth on both blades, but the common barbering setup is one toothed blade and one straight one.
That single design change is the whole tool. Everything else — the different names, the tooth counts, the price ranges — is a variation on that idea.
You’ll hear a few names for roughly the same family of tools:
- Thinning shears — the general name most people use.
- Texturizing shears or texturizing scissors — often used for pairs with fewer, wider teeth that take out bigger pieces.
- Texture shears or texture scissors — same idea, shorter name.
- Blending shears — usually the finer-toothed pairs used to soften lines.
- Chunking shears — the widest-toothed version, built to remove noticeable chunks.
The names overlap, and manufacturers don’t all use them the same way. Don’t get hung up on labels. Look at the teeth.
Lesson two: how do thinning shears work?
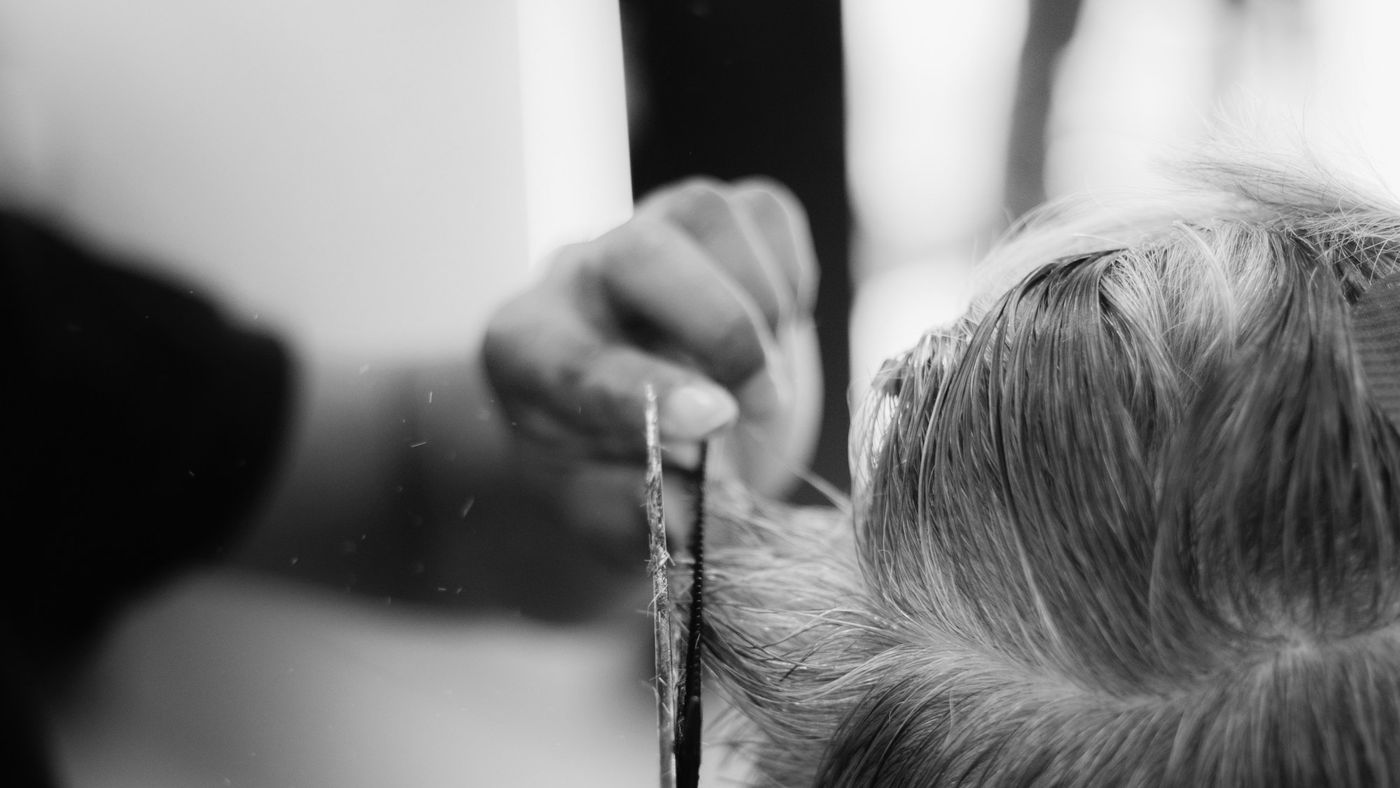
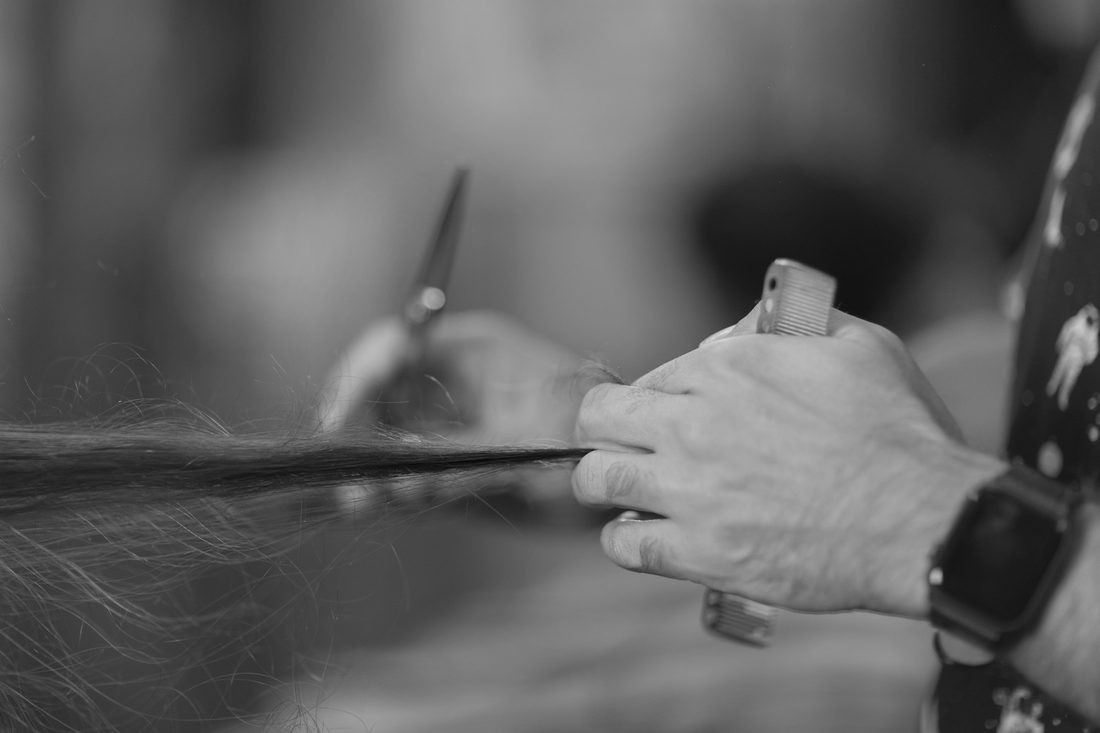
Here’s the mechanism. When you close a pair of thinning shears on a section of hair, the hair that lands under a tooth gets cut. The hair that lands in a gap between teeth slides through untouched. So instead of cutting the whole section at one length, you cut only a fraction of the strands in that section.
That’s it. That’s how thinning shears work. They remove some hair, not all of it, from one spot.
Why does that matter? Because removing a fraction of the strands at different points does two useful things:
- It reduces bulk. Fewer strands in a section means less volume. On thick hair, that’s the difference between hair that sits down and hair that puffs out like a helmet.
- It breaks up hard lines. When strands in one section end at different lengths, the edge of that section looks softer. A blunt line turns into a blended one.
Notice what’s not on that list: shaping. Thinning shears don’t create a haircut. Straight shears and clippers create the shape — the length, the outline, the fade. Toothed shears come in afterward to manage weight and soften edges. If you remember one thing from this lesson, remember that order. Shape first, then thin.
The tooth count, in plain terms
Thinning shears for hair come with anywhere from a handful of teeth to several dozen. The general rule is easy:
- More, finer teeth take out a small amount of hair per snip. They blend and soften. The result is subtle.
- Fewer, wider teeth take out more hair per snip, in bigger pieces. That’s your texturizing or chunking territory. The result is visible, choppy texture.
The spacing of the teeth and how much of each tooth is notched also change how much gets removed. That’s why two pairs with similar tooth counts can cut very differently. A barber learns their own shears the way a carpenter learns their own saw: by using them every day.
Lesson three: thinning shears vs texturizing shears
People treat these as the same thing, and in casual conversation they mostly are. But in the hand, there’s a difference in intent.
Thinning or blending shears are there to make hair less heavy without anyone noticing anything was done. You should see the result — hair that lies flatter, moves better, doesn’t poof — but not the method. A good blend looks like the hair just grew that way.
Texturizing shears, with their wider teeth, are there to make texture you can see. Pieces of different lengths, separation, a broken-up surface. That’s the look on a textured crop, where the top is supposed to look choppy on purpose. Texturizing scissors pull out real pieces, so the hair separates instead of sitting as one solid mass.
Same family. Different job. One hides its work, the other shows it off.
And for completeness: a lot of texture is cut with regular straight shears too, using techniques like point cutting, where the barber cuts into the ends at an angle instead of straight across. Some barbers lean on toothed shears, some lean on point cutting, most use both. If you want the bigger picture on tools, scissor cut vs clipper cut covers what each one is good for.
Lesson four: what thinning shears do and don’t do
This is where most of the confusion lives, so let’s be precise.
Thinning shears do:
- Remove bulk from thick or dense hair.
- Soften the line where one length meets another.
- Help a heavy top lie down or move instead of standing up as a block.
- Add visible texture, if you’re using wide-toothed texturizing shears.
- Clean up the weight in a grown-out cut between bigger changes.
Thinning shears don’t:
- Shorten your hair in any meaningful, even way. The longest strands are still the longest strands.
- Fix a bad shape. If the outline is wrong, toothed shears won’t save it.
- Make thin hair look fuller. Taking hair out of fine hair makes it look finer. That’s arithmetic.
- Replace a haircut. You can’t thin your way to a new style.
That third point catches people. If your hair is already fine or thinning, thinning shears are usually the wrong tool. For fine hair, a barber is more likely to keep weight in, cut a cleaner shape, and use product for lift. And if you’re worried about actual hair loss rather than texture, that’s a medical question, not a scissors question — see a dermatologist. The American Academy of Dermatology’s healthy hair tips are a sensible place to start reading.
Lesson five: thinning thick hair with thinning shears
Here’s who these tools were really built for. If you have thick hair, you know the routine: the cut looks great for a week, then the top swells, the sides push out, and by week three your head looks a size bigger than it is. Thinning thick hair with thinning shears is the standard fix for that.
A barber working on dense hair will usually:
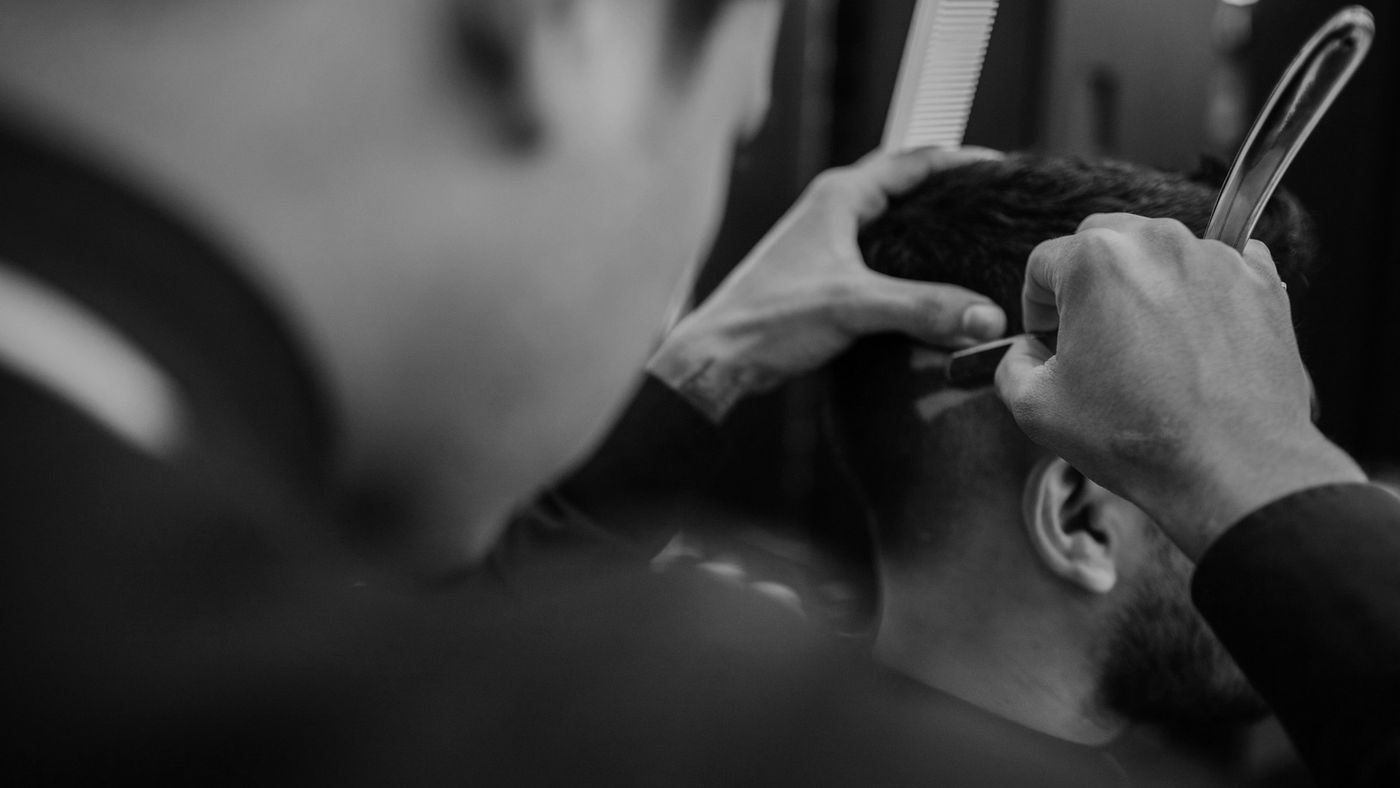
- Cut the shape first with clippers and straight shears.
- Find where the weight is building up — often the crown, the area right above the ears, and the back of the top where it meets the sides.
- Take sections with the comb and thin them from the mid-lengths, not right at the scalp and not only at the tips.
- Check, comb through, and thin again only where it’s still heavy.
That last step is the discipline. The good ones take out a little, look, and take out a little more. You can always remove more hair. You cannot put it back.
If thick hair is your daily problem, read haircuts for thick hair next. It covers which cuts work with all that density instead of fighting it. Curly and wavy hair need extra care with toothed shears, because thinning in the wrong spot breaks up the curl pattern and causes frizz; haircuts for curly hair goes into that.
Lesson six: why you keep thinning shears away from your own head
Now the safety rules. I’ll be stern, because the internet is not.
Thinning shears look forgiving. Since they only cut some of the hair, people assume they can’t do much damage. That’s exactly backward. Their effects build up quietly, you can’t see the back of your own head, and by the time you notice the problem it’s already done. Here’s what goes wrong:
- Holes. Snip too close to the scalp, or hit the same spot a few times, and you get short strands poking through and a see-through patch. On short hair, that’s visible from across the room.
- Frizz. Lots of short pieces mixed in with long ones don’t lie flat. On wavy or curly hair, overthinning turns a curl pattern into fuzz.
- The poof. This one surprises people. Overthinned hair can look puffier, not flatter, because those short cut strands stand up and push the longer hair out. You were trying to remove volume and you made more.
- Uneven weight. You’ll naturally thin more on the side you can reach with your dominant hand. Now one side sits differently from the other.
- Nothing to grow out. Overthinned hair doesn’t just need a trim. It needs time, because the short pieces have to catch up to the rest.
If you’ve already done this, don’t keep going to "even it out." Put the shears down. Come see a barber, and read how to fix a bad haircut so you know what can be rescued in one visit and what just needs a few weeks.
The tool isn’t dangerous. It’s just a professional tool. Barbers train for this. In New York, barbers are licensed by the NY Department of State, and knowing where weight sits on a head and how much to take out is a big part of what that training builds. It’s also one of the reasons guys ask whether they should see a barber or a stylist — barber vs stylist lays that out fairly.
Lesson seven: how to ask your barber for it
You don’t need to say "thinning shears" at all. Describe the problem and let the barber choose the tool. Some useful ways to put it:
- "My hair gets really bulky about two weeks after a cut. Can you take some weight out?"
- "The top puffs up. I want it to lie flatter."
- "I want the top choppy and textured, not smooth."
- "Keep my length, just make it less heavy."
And if you don’t want toothed shears used — some guys with fine or curly hair don’t — say so. "Please don’t thin it" is a perfectly reasonable request. A good barber will tell you honestly if they think your hair would benefit, and then do what you asked.
If you want to see who’s on the chairs before you book, the barbers page has everyone at both shops, and the services page has the full menu. A thinned, shaped cut is just a Classic: 30 minutes, starting at $25, with clippers, scissors, an edger and a straight razor. You see each barber’s exact rate before you confirm. For styling a heavy top after the cut, texture powder is a product type worth asking about.
Coming from Kenmore: straight up Delaware
If you’re in the Village of Kenmore, the shop is about as easy as directions get. Start at the Kenmore Municipal Building at 2919 Delaware Ave — the village’s municipal building on Delaware — and you’re basically on the route already. It’s about 9 minutes and 2.8 miles via Delaware Ave:
- Head north on Delaware Ave toward Victoria Blvd (2.1 mi).
- Keep left to stay on Delaware Ave (0.6 mi).
- Turn left into 578 Delaware St.
Open these directions in Google Maps. More on the neighborhood is on our Kenmore barber shop page.
Our Tonawanda shop is at 578 Delaware St., open Tuesday through Friday 7AM to 7PM and Saturday 8AM to 1PM, closed Sunday and Monday. It serves Tonawanda, North Tonawanda, Kenmore and North Buffalo. Dorian Mayham (master barber), Sam Balesteri and Zaid Blasiny (licensed NYS barbers) are on the chairs, and every one of them knows when to reach for the toothed shears and when to leave them on the mat. Walk-ins are welcome when there is an open chair — appointments are encouraged, so call 716-389-0192 to confirm someone is free. Or book online, or call 716-389-0192.
Class dismissed. Leave the thinning shears to us.